Every new parent knows that feeling—standing in the baby food aisle, surrounded by brightly colored jars filled with mysterious concoctions. The labels promise all sorts of flavors and nutritional benefits, but the truth is, nothing quite compares to the joy of making your own baby food. It’s like crafting little culinary masterpieces with love and intention! When my little ones were transitioning to solid foods, I discovered the magic of homemade baby purees, and it was a game-changer.
I remember the sound of laughter as I blended sweet potatoes into a silky-smooth puree, the comforting aroma wafting through the kitchen. My heart swelled as I served it to my baby for the first time, and the way their tiny face lit up was priceless. There’s something incredibly rewarding about knowing exactly what your child is eating, how fresh it is, and the love you’ve put into every spoonful!
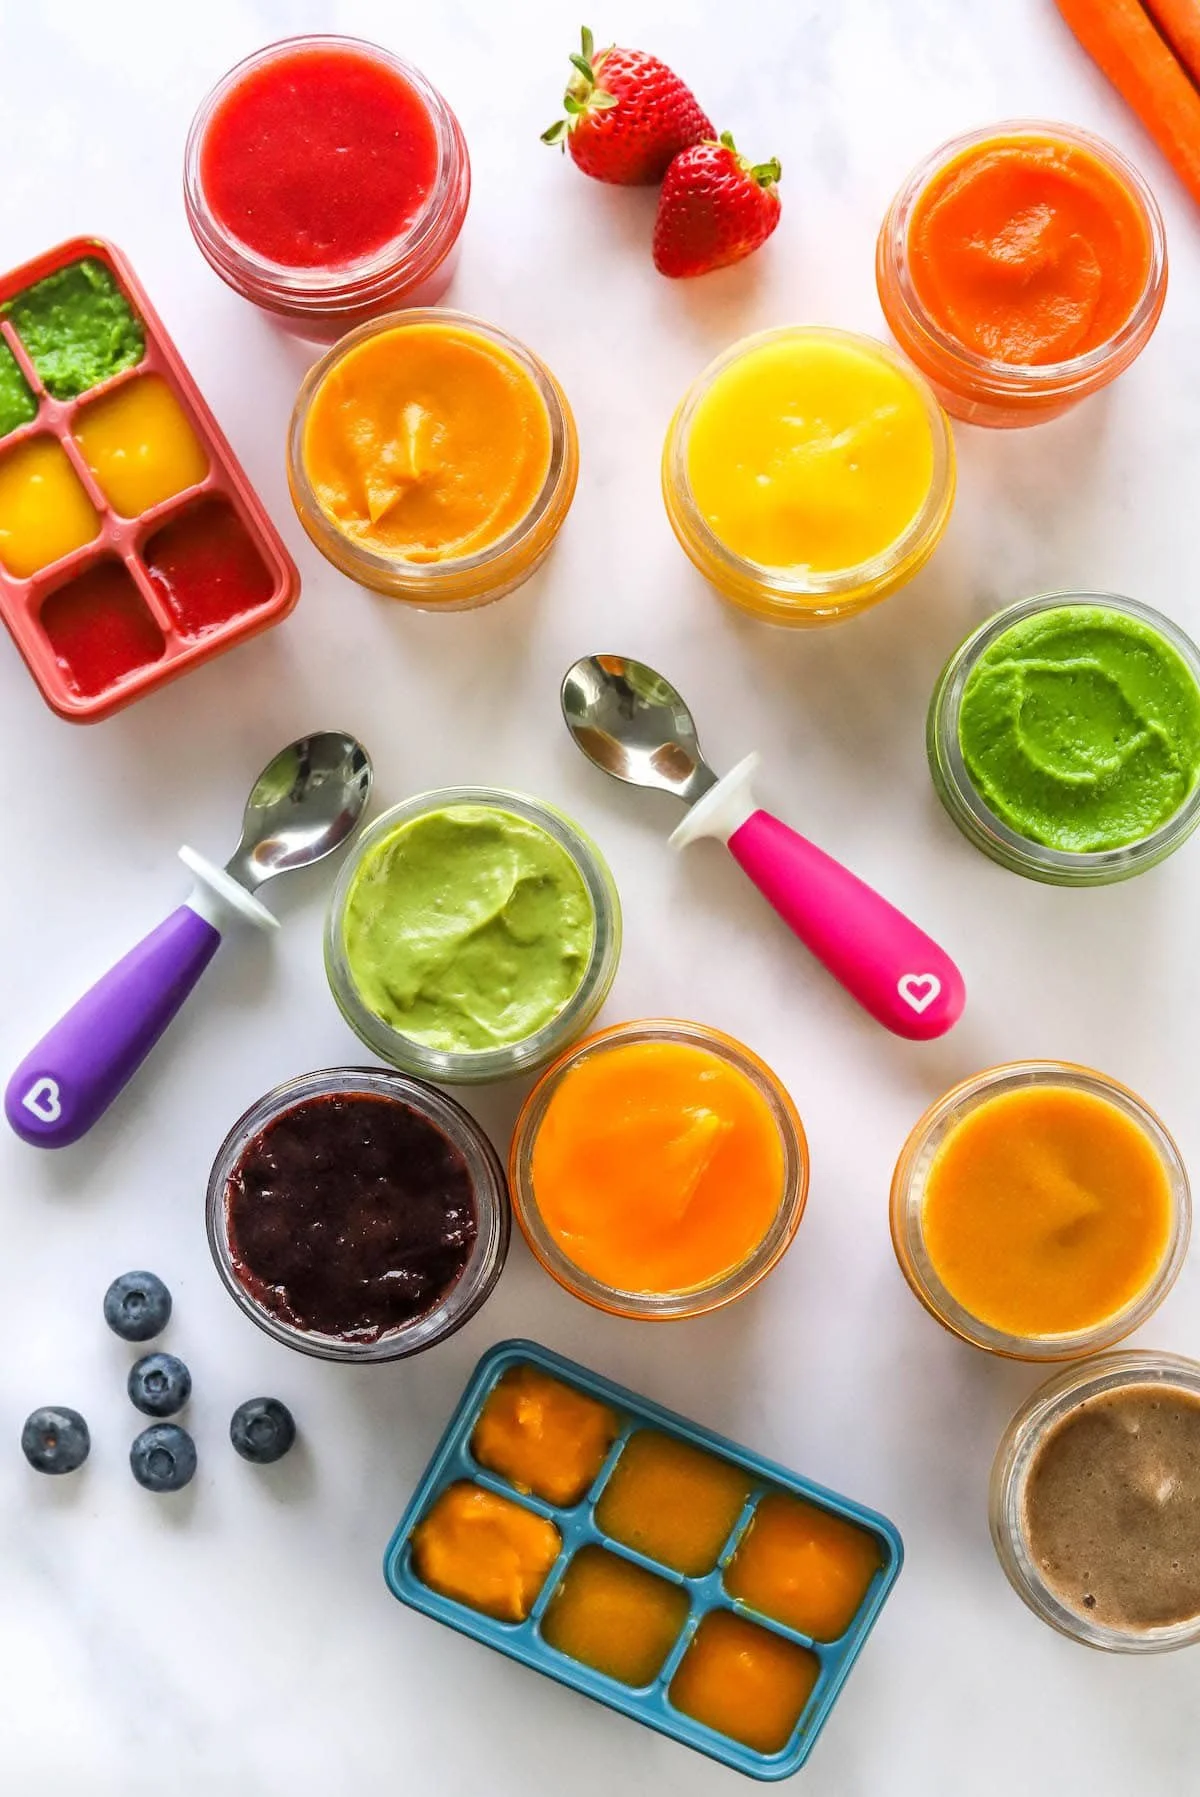
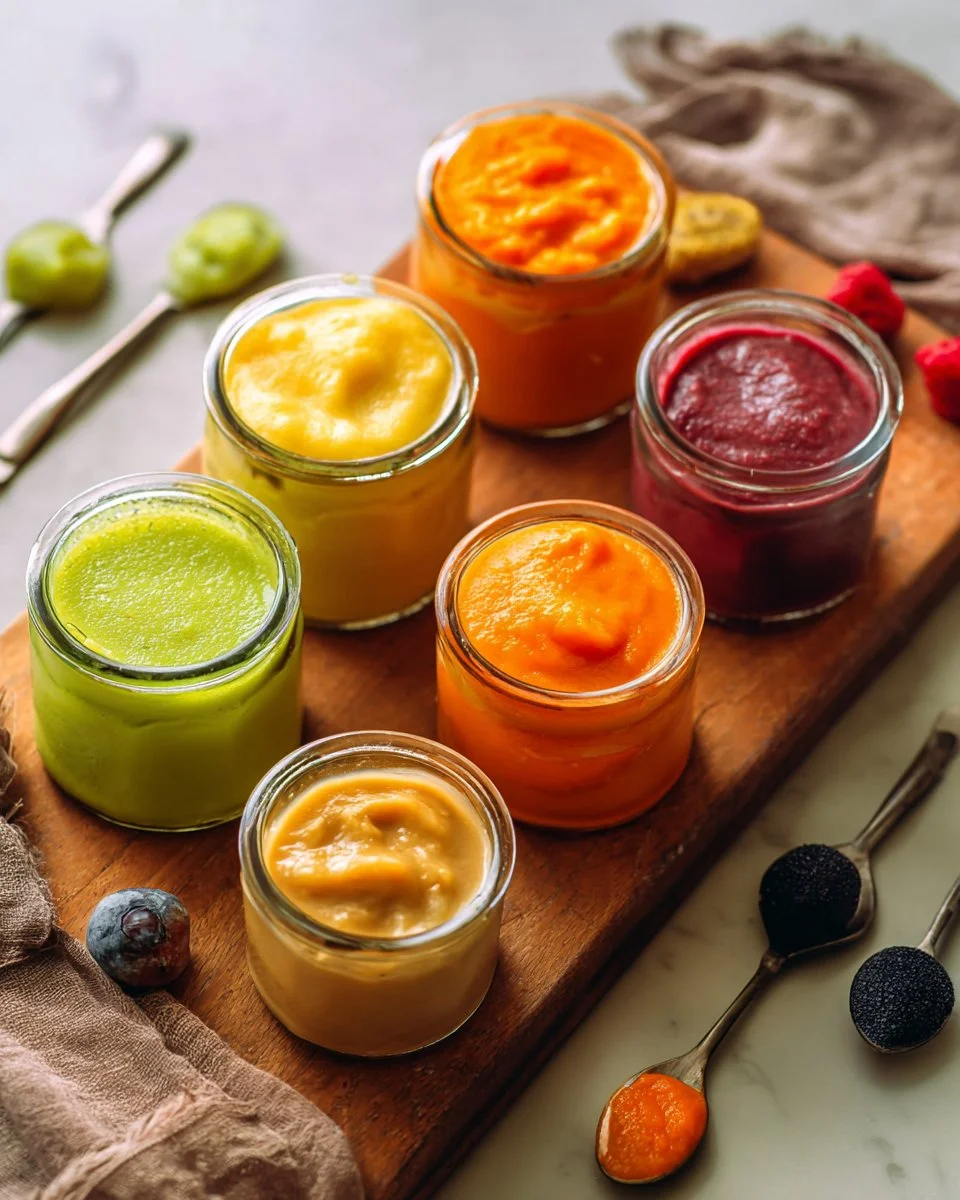
So today, I’m excited to share ten delightful baby food purees that will nourish your little one and create special memories for your family. Let’s dive in and make mealtime magical!
Ingredients for Baby Food Purees
Here’s what you’ll need to make the purees, along with a few personal notes to help you pick the best ingredients:
- Sweet Potatoes (2 medium-sized; they become creamy and mildly sweet—perfect for tiny taste buds!)
- Bananas (2 ripe; a fantastic source of potassium, and they add a natural sweetness)
- Apples (2 medium; sweet, tart, and full of fiber)
- Peas (1 cup; these little green gems are bursting with nutrients!)
- Carrots (2 medium; they bring a beautiful orange hue and are packed with vitamins)
- Avocado (1 ripe; wonderfully creamy and full of healthy fats)
- Butternut Squash (1 small; such a sweet comfort food!)
- Pears (2 ripe; they taste divine and are oh-so-smooth!)
- Green Beans (1 cup; for a subtle earthy flavor)
- Pumpkin (1 cup canned or fresh; a delightful autumn taste any time of year!)
How to Prepare Baby Food Purees
Preheat & Prepare the Base
First things first—let’s get everything in order! For most of these purees, you don’t need an actual oven, but it helps to be organized. Gather your ingredients, a pot for steaming or boiling, a blender, and a storage container.
Make the Main Filling
- For Veggies & Fruits: Begin by washing, peeling, and chopping your produce into small chunks. This ensures they cook evenly!
- Steam or Boil: Depending on what you’re making, steam or boil the ingredients until they’re tender. For example, sweet potatoes usually take about 15-20 minutes until they are fork-tender.
- Blend to Perfection: Place the cooked ingredients into a blender. Add a little water or breast milk to help achieve that creamy texture, and blend until smooth. Adjust the thickness to your preference, creating a consistency that’s perfect for your little one!
Assemble and Chill
- Container Love: Spoon the purees into ice cube trays or baby food storage containers. Each cube will freeze into a single serving—the perfect size for tiny tummies!
- Storage: Cover and freeze. You can store these purees for about three months in the freezer! When you’re ready to serve, simply thaw them in the fridge overnight or warm them up gently.
Why You’ll Love This Recipe
- Nutritional Benefits: Each puree is packed with vitamins and minerals to support your baby’s growth!
- Fresh and Homemade: You control every ingredient, ensuring there are no additives or preservatives.
- Flavor Variety: Your little one gets to experience real food flavors right from the start!
- Texture Control: You can blend to your perfect consistency, whether your baby prefers smooth or a little chunkier.
- Cost-Effective: Homemade baby food is often cheaper than buying pre-made jars.
- Fun and Creative: You can mix and match flavors to discover your baby’s preferences together.
- Family Bonding: Cooking these purees together can be a joyful family activity!
Tips for Success
- Use Fresh Ingredients: Always select ripe and in-season fruits and veggies to ensure maximum flavor and nutrient density.
- Creative Combinations: Don’t be afraid to blend flavors! Sweet potato and banana can create an irresistible mixture.
- Adjust Thickness: Feel free to alter the thickness by adding more or less liquid while blending. You want it just right for their little mouths!
- Keeping it Clean: Use a damp cloth to wipe the edges of containers before sealing to ensure no leftover food is trapped.
- Freezing Guide: Label each container with the date and what’s inside. You’ll appreciate having that info later!
Nutritional Information
Per serving (1 cube approx.):
- Calories: 30
- Fat: 1g
- Carbohydrates: 7g
- Fiber: 1g
- Protein: 1g
- Vitamin A: 120% DV
- Vitamin C: 10% DV
FAQ About Baby Food Purees
1. Can I use frozen fruits and vegetables?
Absolutely! Frozen produce is picked at peak ripeness and can be a great option.
2. How can I make these purees less sweet?
You can balance sweetness by mixing in vegetables that aren’t as sweet, like peas or green beans.
3. What equipment do I need?
A blender or food processor is ideal! A small sieve can also help for those wanting a super fine texture.
4. How long can I store these purees?
Frozen purees can last up to three months in the freezer. Just be sure to label and date them!
5. Can I add spices or herbs?
Yes, once your baby is comfortable with basic flavors, you can introduce mild herbs like cinnamon or basil!
Storage Instructions
Store the purees in airtight containers or ice cube trays. Once frozen, transfer to freezer-safe bags or containers. Each puree can last up to three months in the freezer. For best results, thaw in the refrigerator overnight and reheat gently on the stovetop or in a microwave, ensuring it’s not too hot for your baby!
Serving Suggestions
Pair your purees with soft rice or oatmeal for a balanced meal! You can even top pureed apples with a sprinkle of cinnamon to elevate the experience. For a fun twist, try creating a color-themed meal day—green peas, avocado, and green beans! Serve alongside a cool cup of water or breast milk, and watch your little one marvel at the delightful textures and flavors.
There you have it! Embrace the joy and creativity of making baby food—it’s a rewarding journey full of love, flavor, and sweet memories just waiting to be created! Happy blending!