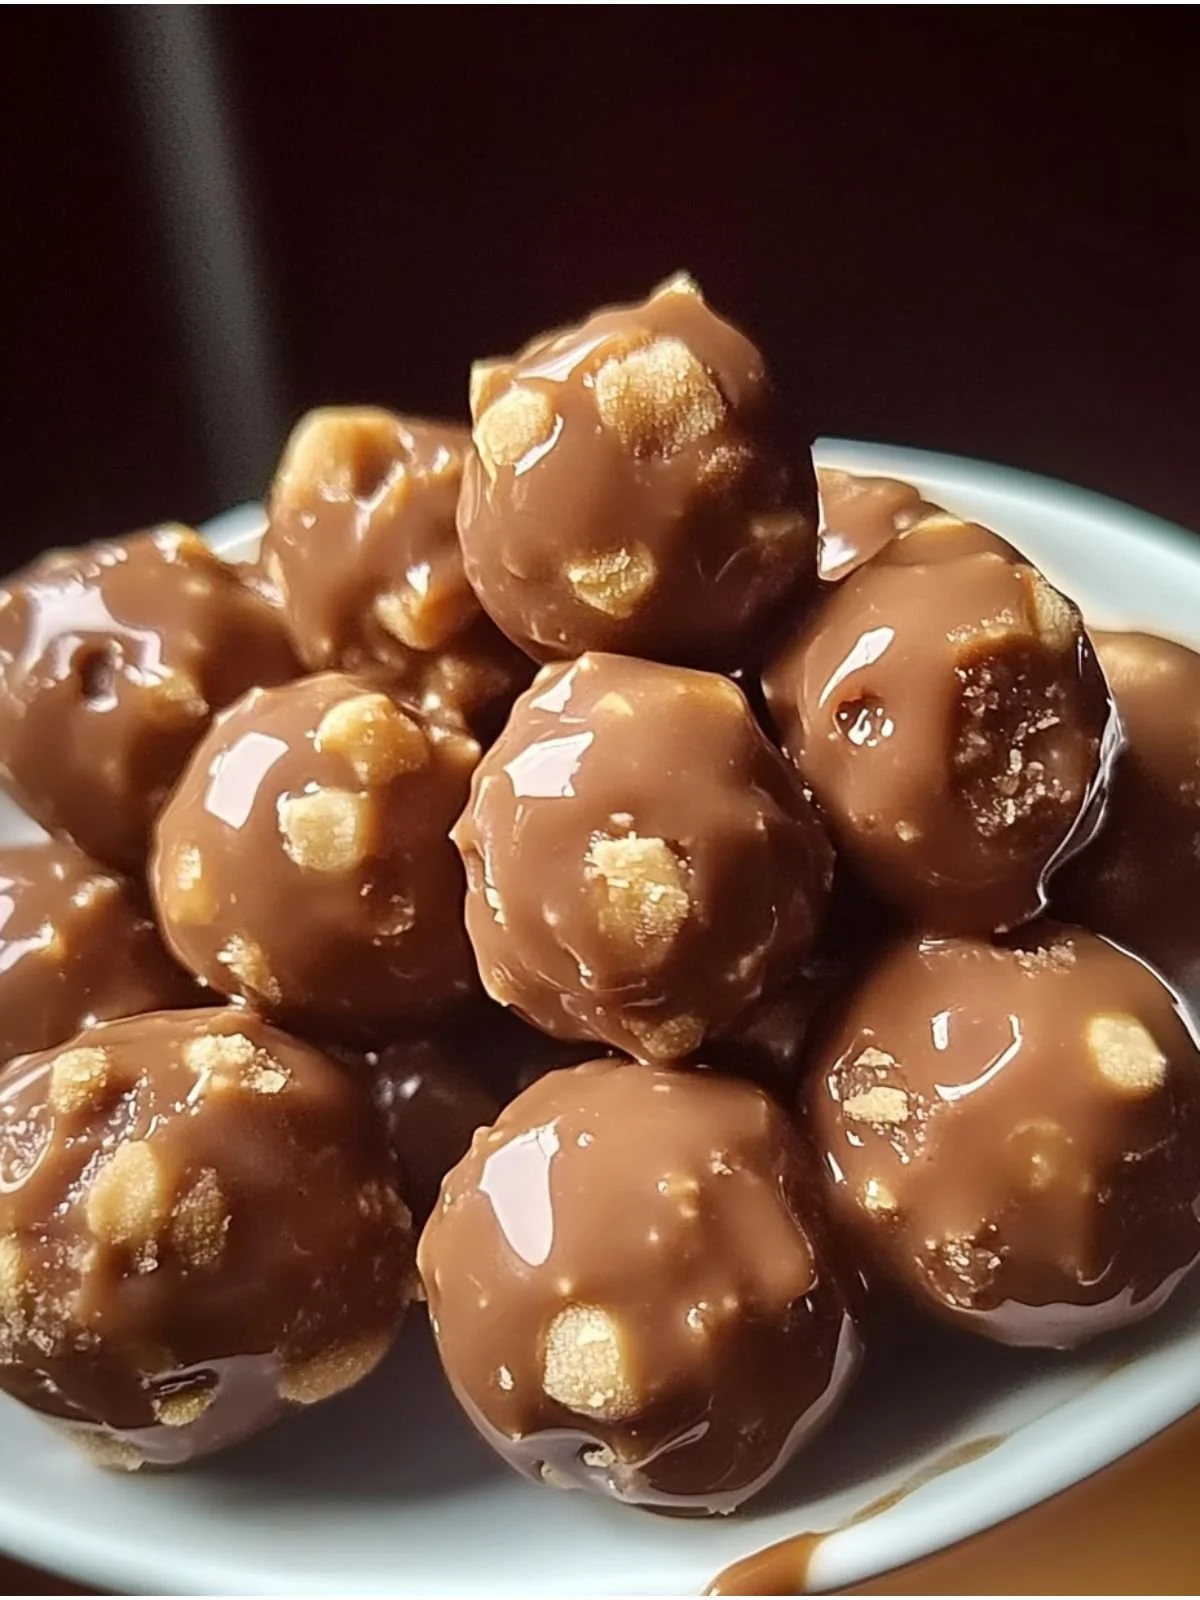
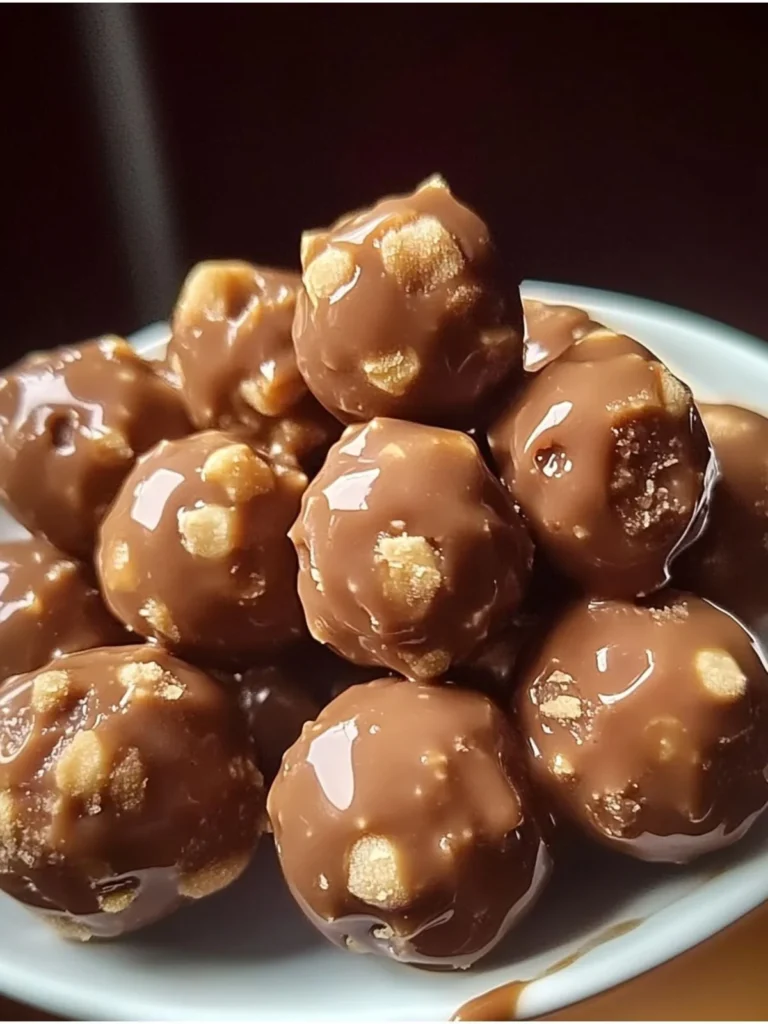
There’s something truly magical about the combination of chocolate and peanut butter that takes us back to our childhood. I still remember the first time I bit into a Butterfinger candy bar; the crunchy, peanut-buttery goodness exploded in my mouth, leaving a lasting impression. Now, imagine transforming that classic candy into bite-sized wonders that you can make at home! Butterfinger Balls bring back those nostalgic flavors in an easy-to-make treat that everyone will love.
Why Make This Recipe
Butterfinger Balls are simple to prepare and require no baking. They are perfect for sharing at family gatherings, potlucks, or holiday parties. Plus, they’re incredibly delicious and satisfying, who doesn’t love the combination of chocolate, peanut butter, and the crunchy goodness of Butterfinger? They are also fun to make with kids, allowing them to get involved in the kitchen and create a tasty treat that they can enjoy.
How to Make Butterfinger Balls
Ingredients:
- 4 tablespoons of softened butter (equivalent to ½ stick)
- 1 teaspoon of vanilla extract
- 8 ounces of chocolate bark or chocolate chips
- ½ cup of crushed Butterfinger bars
- 1 cup of powdered sugar
- 1 cup of peanut butter (avoid using all-natural varieties)
- ¾ cup of graham cracker crumbs
- Optional garnishes: more crushed Butterfinger bars, festive sprinkles, or coarse sea salt
Directions:
- Ensure all ingredients are ready before you start.
- Use a ziplock bag and a rolling pin to crush the Butterfinger bars into fine grounds.
- In a mixing bowl, blend the softened butter, peanut butter, powdered sugar, vanilla extract, and graham cracker crumbs until you achieve a smooth mixture.
- Roll the dough into walnut-sized pieces and place them on a baking sheet lined with parchment paper.
- Melt the chocolate bark or chocolate chips in a double boiler or microwave, stirring often to prevent burning.
- Once melted, coat each ball in the chocolate and place them back on the baking sheet.
- Refrigerate for about an hour to allow them to set.
How to Serve Butterfinger Balls
Serve Butterfinger Balls chilled or at room temperature. You can place them in a festive bowl or on a decorative platter. For a fun twist, sprinkle some extra crushed Butterfinger bars, colorful sprinkles, or coarse sea salt on top before serving.
How to Store Butterfinger Balls
Store any leftover Butterfinger Balls in an airtight container in the refrigerator. They will stay fresh for up to one week. For longer storage, you can freeze them for up to three months. Just be sure to separate the layers with parchment paper to prevent sticking.
Tips to Make Butterfinger Balls
- Make sure your butter is softened for easier mixing.
- Use a good quality chocolate for coating to enhance the flavor of the balls.
- If the mixture feels too sticky, you can add a little more graham cracker crumbs to help with rolling.
- Have fun with the toppings! Get creative with different decorations to suit any occasion.
Variation
For a twist on the classic Butterfinger Balls, try adding a pinch of sea salt to the chocolate coating. You can also mix in other crushed candies or nuts for added flavor and texture.
FAQ SECTION
1. Can I use natural peanut butter for this recipe?
No, it’s best to avoid all-natural peanut butter as it can have a different texture and consistency that affects the dough.
2. How can I make these gluten-free?
You can use gluten-free graham crackers or crushed gluten-free cookies as a substitute for graham cracker crumbs.
3. Can I make Butterfinger Balls ahead of time?
Absolutely! You can make them a few days in advance and store them in the fridge or freezer until you’re ready to serve them.
With this easy recipe, you can impress family and friends with a delightful treat that’s sure to bring back sweet memories! Enjoy making and sharing your Butterfinger Balls.
Butterfinger Balls
Ingredients
Method
- Ensure all ingredients are ready before you start.
- Use a ziplock bag and a rolling pin to crush the Butterfinger bars into fine grounds.
- In a mixing bowl, blend the softened butter, peanut butter, powdered sugar, vanilla extract, and graham cracker crumbs until you achieve a smooth mixture.
- Roll the dough into walnut-sized pieces and place them on a baking sheet lined with parchment paper.
- Melt the chocolate bark or chocolate chips in a double boiler or microwave, stirring often to prevent burning.
- Once melted, coat each ball in the chocolate and place them back on the baking sheet.
- Refrigerate for about an hour to allow them to set.