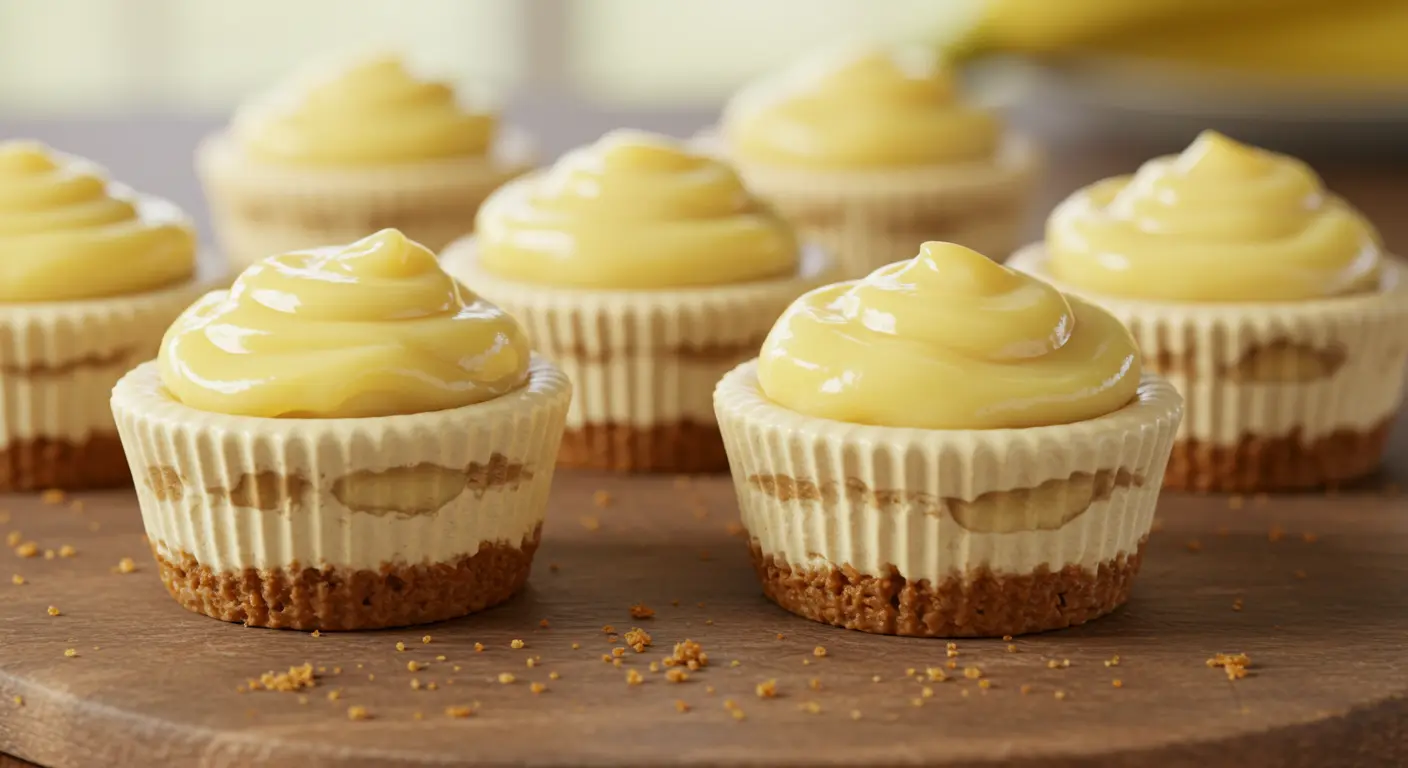
You know those desserts that stop you in your tracks and make you say, “I need that in my life”? Yep, this is one of them. Mini Banana Pudding Cheesecakes combine two dreamy desserts into one bite-sized masterpiece. Creamy cheesecake meets nostalgic banana pudding in a buttery vanilla wafer crust, topped with whipped cream and a slice of banana. If you’re craving something sweet, comforting, and totally unforgettable, you’re in the right place.
Ingredients
For the Crust
1 ½ cups crushed vanilla wafers
4 tablespoons unsalted butter, melted
1 tablespoon granulated sugar
For the Cheesecake Filling
16 oz (2 blocks) cream cheese, softened
½ cup granulated sugar
2 large eggs
½ teaspoon vanilla extract
½ cup mashed ripe banana
For the Topping
1 cup banana pudding (store-bought or homemade)
1 cup whipped cream or whipped topping
Sliced bananas (for garnish)
Extra crushed wafers (optional)
Instructions
Preheat oven to 325°F (160°C). Line a muffin tin with cupcake liners.
Mix crushed vanilla wafers, melted butter, and sugar in a bowl.
Press 1-2 tablespoons of crust mixture into the bottom of each liner.
Beat cream cheese until smooth. Add sugar, eggs, vanilla, and mashed banana. Mix well.
Pour cheesecake batter over crusts, filling each about ¾ full.
Bake for 18–20 minutes or until centers are just set.
Cool completely, then refrigerate for at least 2 hours.
Top each mini cheesecake with banana pudding, whipped cream, banana slice, and crushed wafers.
Why You Will Love This Recipe
Two classics in one: Banana pudding and cheesecake? Yes, please.
Mini-size = no guilt: Perfect for portion control (or eating four).
Make-ahead friendly: Chill them now, enjoy them later.
Super customizable: Use your favorite pudding, whipped cream, or even chocolate drizzle!
How to Make This Recipe
Making these Mini Banana Pudding Cheesecakes from scratch is easier than it looks—and the result is a dreamy combo of banana pudding, creamy cheesecake, and crunchy vanilla wafer crust in every single bite. Let’s break it down step by step so you can get perfect results every time.
Step 1: Prepare Your Muffin Tin
Line a 12-cup muffin tin with cupcake liners. This makes removal easy and keeps the shape neat. You can also use silicone liners if you want a smooth edge and easy release.
Step 2: Make the Vanilla Wafer Crust
Ingredients for the crust:
1 cup crushed vanilla wafers (about 20 cookies)
2 tbsp granulated sugar
4 tbsp unsalted butter, melted
Instructions:
Crush the vanilla wafers into fine crumbs using a food processor or by sealing them in a zip-top bag and smashing with a rolling pin.
In a bowl, mix the crumbs with sugar and melted butter until the texture is like wet sand.
Spoon about 1 tablespoon of the mixture into each cupcake liner and press down firmly using the back of a spoon or the bottom of a small glass.
Bake the crusts at 325°F (165°C) for 5 minutes, then set aside to cool.
Step 3: Make the Cheesecake Filling
Ingredients for the filling:
2 blocks (16 oz total) cream cheese, softened
1/2 cup granulated sugar
2 large eggs
1/4 cup sour cream
1 tsp vanilla extract
1/2 cup mashed ripe banana (about 1 large banana)
Instructions:
In a large mixing bowl, beat the softened cream cheese and sugar together until smooth and creamy—no lumps!
Add the eggs one at a time, mixing well after each.
Stir in the sour cream and vanilla extract until combined.
Fold in the mashed banana and mix just until incorporated—don’t overmix.
Step 4: Fill and Bake
Spoon the cheesecake mixture evenly over the cooled crusts, filling each liner almost to the top.
Gently tap the muffin tin on the counter to release air bubbles.
Bake at 325°F (165°C) for 18–22 minutes, or until the centers are just set and slightly jiggly. Don’t overbake—they’ll firm up as they cool.
Let them cool in the pan for 30 minutes, then transfer to the fridge to chill for at least 3 hours (overnight is even better!).
Step 5: Add the Banana Pudding Layer (Optional but AMAZING)
If you want to add that classic banana pudding flair, prepare some instant banana pudding (follow box directions) and spoon a little over the chilled cheesecakes. This adds an extra layer of creamy, nostalgic goodness.
Step 6: Garnish and Serve
Top each mini cheesecake with a swirl of whipped cream, a banana slice, and crushed vanilla wafers just before serving. This makes them look bakery-worthy and adds even more banana pudding vibes.
How to Serve Mini Banana Pudding Cheesecakes
Serving these mini banana pudding cheesecakes is super easy and honestly kind of fun! Since they’re already in individual portions, there’s no slicing or mess—just grab and go.
First things first: make sure they’re nice and chilled before serving. These little treats taste best cold, so take them out of the fridge when you’re ready. You can leave the cupcake liners on if it’s a casual get-together, or peel them off if you want a cleaner, fancier look for plating.
Now for the fun part—toppings! Add a spoonful of banana pudding on top, then pipe or scoop on some whipped cream. Want to take it to the next level? Pop a banana slice on top and sprinkle a little crushed vanilla wafer or a pinch of cinnamon. You can even drizzle a bit of caramel sauce if you’re feeling fancy!
If you’re serving these at a party, arrange them on a pretty tray or cake stand. They look adorable all lined up. Hosting a dinner? Place each one on a small plate with a little extra flair—maybe a mint leaf or a swirl of sauce on the side.
They go great with coffee, tea, or even a glass of milk. Since they’re rich and creamy, a simple drink really balances things out.
One tip: don’t top them with banana slices too far ahead of time—bananas brown fast, and you want them looking fresh when served. So keep those toppings for last-minute touches.
Whether you’re serving these for a special occasion or just treating yourself, they’re guaranteed to be a hit. Everyone loves a cute, delicious dessert you can eat with your hands
Storage and Reheat
How to Store
Keep your mini banana pudding cheesecakes in an airtight container in the refrigerator for up to 4 days. Place a sheet of wax paper between layers if stacking.
How to Reheat or Serve Chilled
These are best enjoyed cold! No need to reheat. Just remove from the fridge, top with fresh banana slices if needed, and serve.
Conclusion
If comfort food had a dessert form, this would be it. Mini Banana Pudding Cheesecakes are the ultimate mashup of creamy, dreamy, sweet indulgence that’s perfect for sharing (or not!). With just the right balance of textures and flavor, they’re bound to become a household favorite. Go ahead, make a batch — your taste buds will thank you.
FAQs
Can I make these ahead of time?
Absolutely! These are perfect make-ahead treats. Make them up to 2 days in advance and store them in the fridge.
Can I use instant pudding mix instead of homemade?
Yes! Store-bought banana pudding or instant mix works great here for convenience and speed.
Can I make this recipe without baking it?
You could try a no-bake cheesecake filling (with gelatin or whipped cream), but the texture won’t be quite the same as the baked version.