I still remember the first time I pulled a tray of glossy, ruby-red cookies from the oven — the kitchen smelled like cocoa and cozy Sunday mornings, and my whole family gathered around, eyes wide with that delighted “is it ready?” look. Baking these Red Velvet Cookies feels like sending a little heart-shaped love note to everyone you care about: tender, slightly chocolatey, and oh-so-swoon-worthy. If you’re into contrasts of creamy filling and cakey cookie, you might also enjoy exploring my take on a bold savory dish in my bang-bang chicken rice bowl guide — but for today, let’s dive into all the red velvet joy!
These cookies were my go-to for neighborhood potlucks years ago. I’d pull them from the oven with flour-dusted hands and hand a warm cookie (still soft at the edges) to the kind neighbor who always had the best jokes. One time a drizzle of cream cheese filling escaped while carrying the tray and landed on the floor — and yes, our golden retriever declared it the best moment of his life. Baking is messy, loving, and full of memories, and these cookies carry those moments in every bite.
Why This Dessert Feels Special
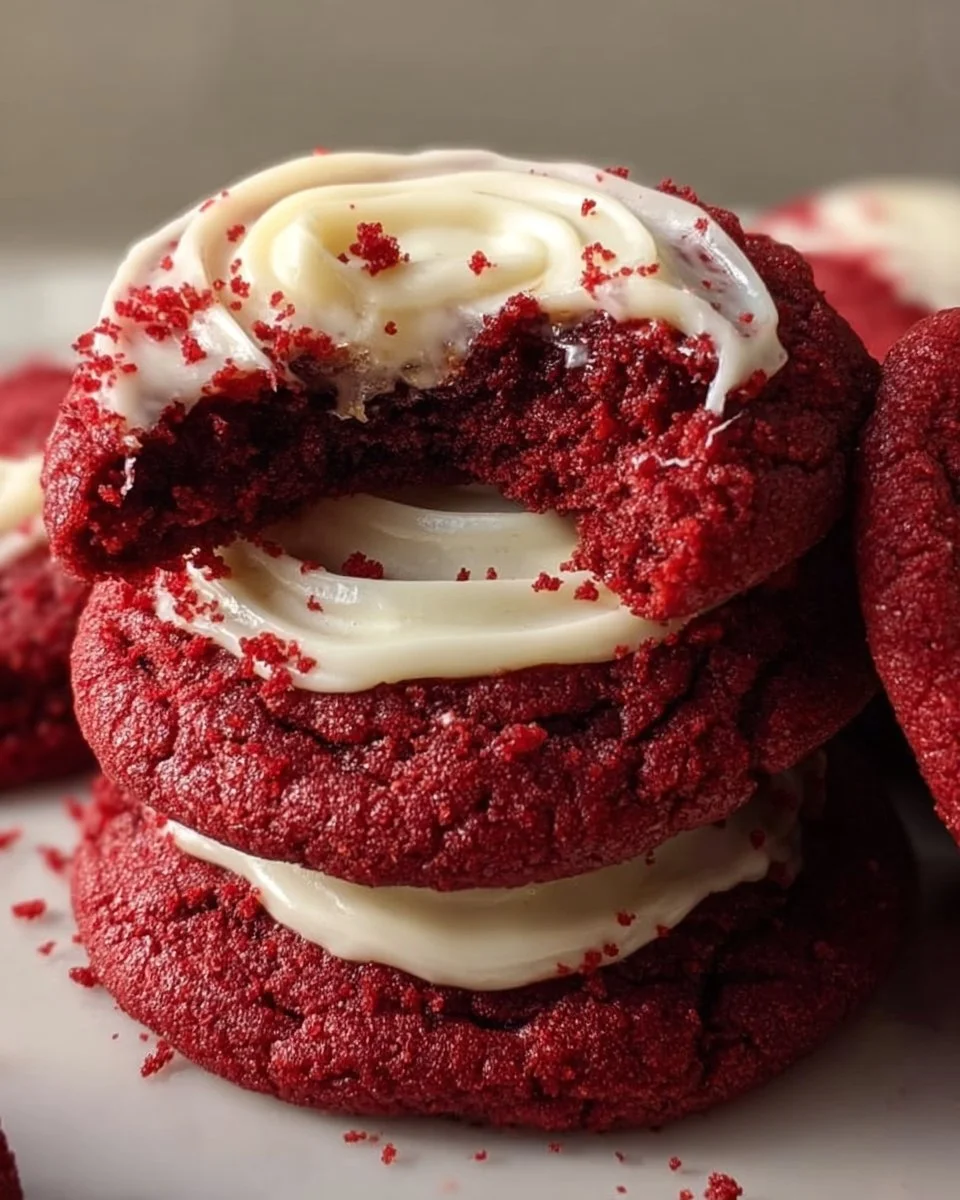
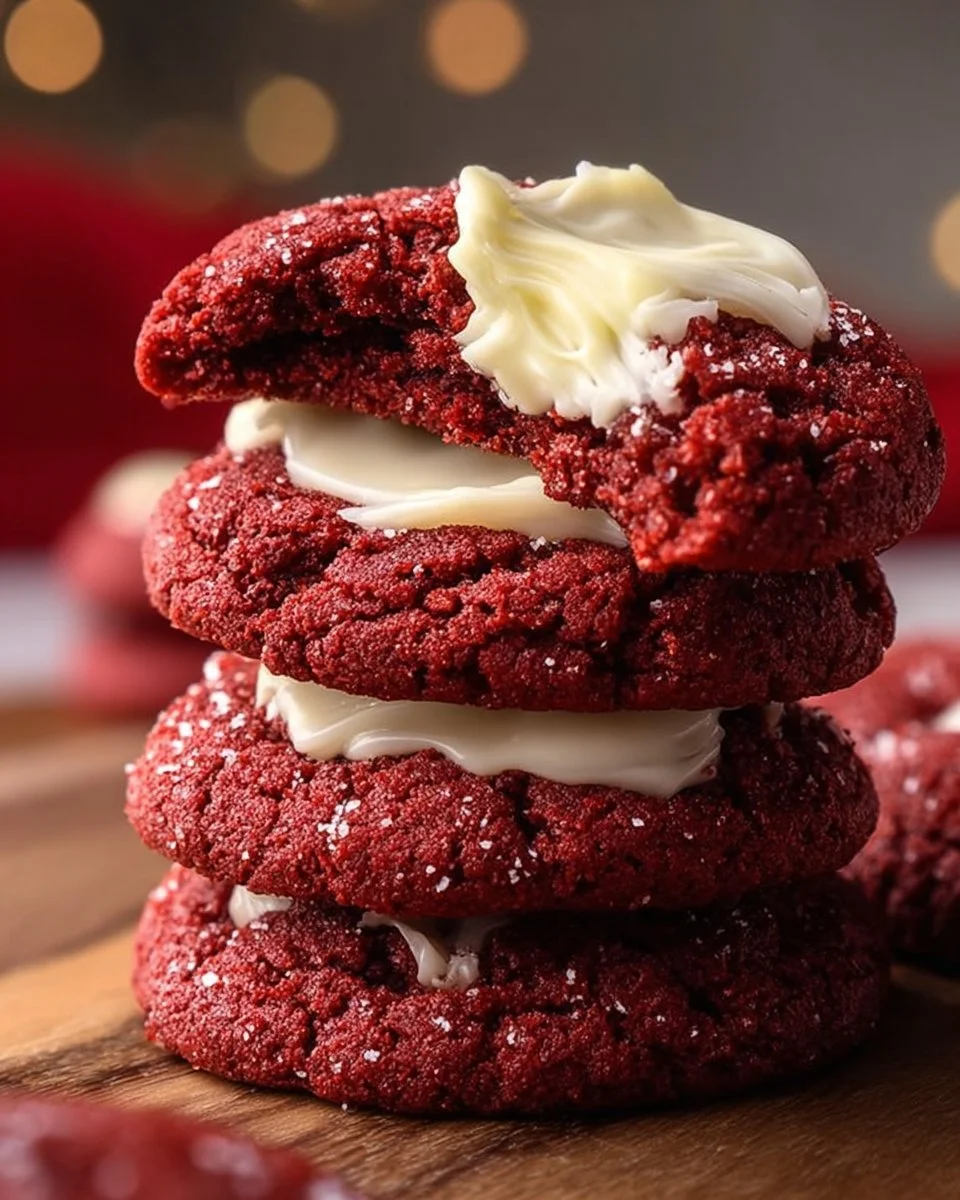
Red Velvet is comfort with a little wink: soft cocoa undertones, a silky cream cheese center, and that dramatic red hue that makes everything feel celebratory. The texture sits between cake and cookie — tender, slightly chewy, and pillowy — and the tang of the cream cheese filling cuts through the sweetness in the best possible way. It’s the perfect dessert for birthdays, cozy tea afternoons, or whenever you want to make someone’s day brighter.
Ingredients Red Velvet Cookies
- 2 1/4 cups (280 g) all-purpose flour (spooned and leveled; I always fluff the flour first)
- 2 tablespoons unsweetened cocoa powder (for that subtle chocolate note)
- 1 teaspoon baking soda
- 1/2 teaspoon fine sea salt
- 1 cup (226 g) unsalted butter, softened (room temperature; not melted)
- 3/4 cup (150 g) granulated sugar
- 1/2 cup (100 g) packed light brown sugar (adds chew and depth)
- 1 large egg (room temperature)
- 1 large egg yolk (for extra richness)
- 1 teaspoon pure vanilla extract
- 2 tablespoons red food coloring (liquid) or 2 teaspoons gel red food coloring (gel gives a brighter color with less quantity)
- 2 tablespoons sour cream (or plain yogurt; for tenderness)
- 1 cup (175 g) white chocolate chips or chopped white chocolate (optional; for pockets of sweet surprise)
- For the cream cheese filling:
- 8 ounces (225 g) cream cheese, softened (very important — cold lumps are not cute)
- 2 tablespoons (28 g) unsalted butter, softened
- 1 cup (120 g) powdered sugar (sifted if lumpy)
- 1/2 teaspoon vanilla extract
- Pinch of salt
- Optional finishing touches: rainbow sprinkles, coarse sugar, extra white chocolate drizzle (fun and festive!)
How to Prepare Red Velvet Cookies
Preheat & Prepare the Base
- Preheat your oven to 350°F (175°C). Line two baking sheets with parchment paper or silicone mats (they’re life-savers for easy release).
- In a medium bowl, whisk together the flour, cocoa powder, baking soda, and salt until evenly combined. (Sifting cocoa helps remove clumps — cocoa hates being lumpy.)
- In the bowl of a stand mixer (or a large mixing bowl with a hand mixer), cream the softened butter with the granulated and brown sugars on medium speed until light and fluffy, about 2–3 minutes. Stop and scrape down the sides — we don’t want sneaky pockets of butter.
- Add the egg and egg yolk, one at a time, mixing well after each addition. Beat in the vanilla and food coloring until the batter is uniformly red — play with color to your preference, but remember it deepens a touch while baking.
- Fold in the sour cream to keep the dough tender and moist.
- Gradually add the dry ingredients to the wet, mixing on low until just combined. If using white chocolate chips, gently fold them in now. (Don’t overmix — you want soft cookies, not dense hockey pucks!)
Make the Main Filling (Cream Cheese Filling)
- In a medium bowl, beat the softened cream cheese and butter together until smooth and creamy, about 2 minutes.
- Add the powdered sugar gradually, beating on low until incorporated, then increase speed and add vanilla and a pinch of salt. Taste for sweetness — you can add up to 1/4 cup more powdered sugar if you prefer a sturdier filling.
- Transfer the filling to a piping bag fitted with a round tip (or a resealable plastic bag with a corner snipped). Refrigerate the filling for 15–20 minutes if it’s softened too much — we want it pipeable but not runny.
Assemble and Chill/Bake
- Scoop dough: use a cookie scoop (about 1.5 tablespoons) to portion dough onto a plate. Flatten each scoop slightly with your fingers into a disc about 1/2 inch thick.
- Pipe a teaspoon (or dollop) of the cream cheese filling onto the center of half the discs, leaving a small border. Top with another disc and gently press the edges to seal. (If you’re nervous about leaks, freeze the filled discs for 10–15 minutes before baking.)
- Place the sealed cookies on prepared baking sheets about 2 inches apart. If desired, sprinkle tops with coarse sugar or sprinkles for sparkle.
- Bake for 10–12 minutes, until edges are set and tops look slightly matte but not dry. The cookies may seem soft — they’ll set as they cool and remain tender inside.
- Let cookies cool on the baking sheet for 5 minutes, then transfer to a wire rack to cool completely. (Resist the urge to cut into them immediately — molten cream cheese is a heartwarming mess but also very hot!)
Why You’ll Love This Recipe
- Silky cream cheese center that contrasts beautifully with tender, cocoa-kissed cookie.
- Soft, lightly chewy texture that’s simultaneously cake-like and cookie-like.
- Visually stunning: the red hue makes these perfect for celebrations.
- Versatile: omit the filling for simpler cookies or add white chocolate for extra sweetness.
- Make-ahead friendly: dough can be chilled/stored for later baking.
- Crowd-pleasing: adults and kids both adore these.
- Comforting aroma: bakes into your kitchen like a warm hug.
- Easy to customize: swap flavors, coloring intensity, or mix-ins to suit your mood.
Tips for Success
- Use room-temperature butter, eggs, and cream cheese for the smoothest batter and filling.
- If you want intense red without tons of food coloring, use gel color — it gives richer pigment with less liquid.
- Don’t overmix the dough once you add flour; overworking gluten makes cookies tough.
- For perfectly sealed filled cookies, chill the assembled dough for 10–20 minutes before baking — it prevents oozing.
- To test doneness: edges should be firm but the center still slightly soft to the touch.
- If your cream cheese filling becomes runny, chill it before piping — colder filling holds shape better.
- Consider a light dusting of sifted cocoa or powdered sugar for a professional look.
- High-quality cocoa powder and real vanilla make a noticeable difference in flavor.
Nutritional Information (estimated per cookie — recipe yields about 24 cookies)
- Calories: ~220 kcal
- Total Fat: ~12 g
- Saturated Fat: ~6 g
- Carbohydrates: ~25 g
- Sugars: ~14 g
- Protein: ~3 g
- Fiber: ~1 g
- Sodium: ~120 mg (These are estimates — exact values depend on specific ingredients and portion sizes.)
FAQ Red Velvet Cookies
Q: Can I make these without red food coloring? A: Yes! The cocoa flavor will remain, but you’ll lose the classic red color. Try using natural beet powder for a subtle pink hue (results vary), or simply enjoy them as cocoa cookies.
Q: Can I make these vegan/dairy-free? A: You can try dairy-free butter and a vegan cream cheese substitute; swap egg for a flax “egg” (1 tbsp ground flax + 2.5 tbsp water). Texture will change slightly, but many have success with these swaps.
Q: Can I freeze the dough or assembled cookies? A: Absolutely. Scoop-shaped dough balls freeze well for up to 3 months — bake from frozen adding a couple extra minutes. Fully baked cookies freeze well too; thaw at room temperature.
Q: My filling leaked while baking. How do I prevent that? A: Chill the filled cookies before baking and avoid overfilling. Make sure the edges are pinched and sealed; a light egg wash along the seam works if you’re brave!
Q: Can I make these larger or smaller? A: Yes — reduce or increase baking time accordingly. Mini cookies bake faster (7–9 minutes), while jumbo cookies may need 13–16 minutes. Keep an eye on edges.
Storage Instructions
- At room temperature: Store cooled cookies in an airtight container for up to 2 days (cream cheese filling prefers cooler temps).
- Refrigerator: Keep in an airtight container for up to 4 days — the filling stays firmer and safer this way.
- Freezer: Freeze baked cookies in a single layer on a sheet, then transfer to a freezer-safe bag for up to 3 months. Thaw in the fridge or at room temp.
- Reheating: Gently warm in a 300°F (150°C) oven for 5–8 minutes to refresh softness, or microwave briefly (10–12 seconds) but beware of hot filling!
Serving Suggestions
- Serve warm with a glass of cold milk for classic comfort.
- Pair with a robust coffee or a creamy latte to balance sweetness.
- Add a scoop of vanilla bean ice cream between two cooled cookies for an indulgent sandwich.
- Garnish with fresh raspberries or a drizzle of melted white chocolate for an elegant touch.
- For a holiday platter, arrange with assorted cookies and top each red velvet with a tiny edible gold leaf or festive sprinkles — they’ll disappear fast!
- For grown-up gatherings, offer alongside a dessert wine like late-harvest Riesling or a rich port.
Happy baking! These Red Velvet Cookies are one of those recipes that reward you with warmth, smiles, and a few sticky-fingered high-fives. If a step feels fiddly, take a breath and remember: baking is part science, part love—and always meant to be shared.