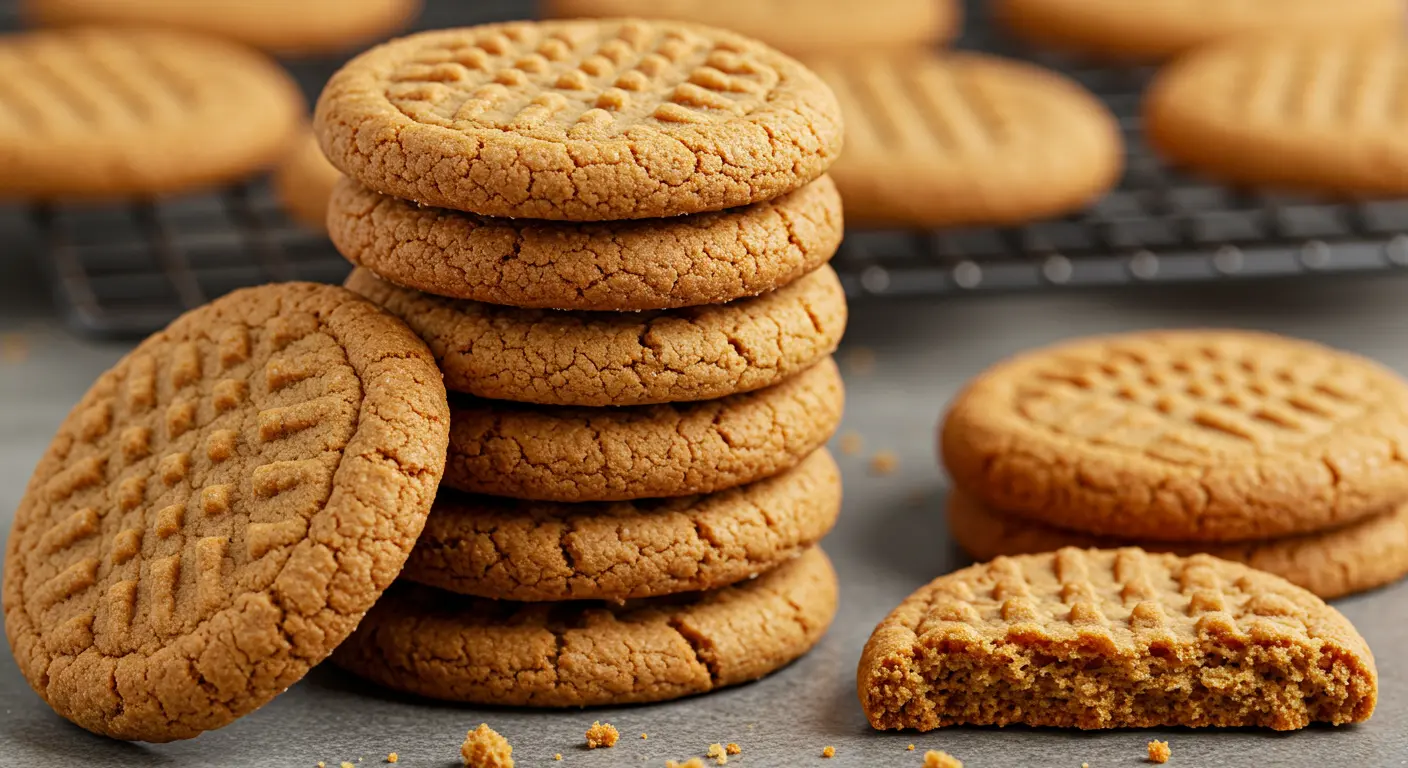
These old-fashioned peanut butter cookies bring together a comforting blend of rich, nutty flavor and nostalgic texture. With crispy edges and soft, chewy centers, they evoke memories of home baking at its finest. Whether enjoyed as an afternoon treat or tucked into a lunchbox, these cookies are a timeless favorite across generations.
What makes them “old-fashioned” is both the simplicity of ingredients and the unmistakable texture achieved with the classic fork-tine crosshatch on top. This pattern not only gives the cookies a signature appearance but also helps them bake evenly and retain their slightly crisp exterior. The recipe’s roots can be traced back to mid-20th century cookbooks, where peanut butter started becoming a pantry staple.
Baking these cookies is a rewarding process: the dough comes together quickly, and you’ll fill your kitchen with a warm, comforting aroma as they bake. You’ll only need a few bowls and a hand mixer, or even just a wooden spoon and some elbow grease. The best part is how adaptable the recipe is, whether you’re making it gluten-free or throwing in a few chocolate chips.
These cookies deliver the perfect balance of flavor and nostalgia. They’re simple enough for beginner bakers but satisfying for those more experienced in the kitchen. Keep reading to explore a deeper dive into the ingredients, baking tools, and tips that make this recipe a home-run every time.
How to Make the Best Old-Fashioned Peanut Butter Cookies.
Want soft, chewy, and delicious peanut butter cookies? Follow these easy steps:
1. Use Room-Temperature Ingredients
Let your butter and eggs sit out until they’re not cold. This helps everything mix better.
2. Cream Well
Beat the butter, peanut butter, and sugars until light and fluffy. This adds air and keeps cookies soft inside.
3. Measure Flour Carefully
Don’t scoop flour straight from the bag. Spoon it into your measuring cup, then level it off. Too much flour makes cookies dry.
4. Don’t Overmix the Dough
Once the flour is mixed in, stop. Overmixing can make cookies tough.
5. Use a Cookie Scoop
This helps your cookies be the same size so they bake evenly and look nice.
6. Chill the Dough (Optional)
Chill the dough for 30–60 minutes if you want cookies that spread less and taste even better.
7. Watch Bake Time
Bake until the edges are set but the middle is still soft. Cookies finish baking on the hot pan.
8. Cool Before Moving
Let cookies sit on the pan for 5 minutes before moving them to a wire rack.
Ingredients: The Simple Pantry Staples That Shine
The charm of old-fashioned peanut butter cookies lies in their no-fuss ingredient list. You likely have everything you need right in your pantry. These cookies depend on quality, not complexity, for their standout flavor and ideal texture.
First, there’s peanut butter. Creamy peanut butter is most commonly used for its smoothness and ability to blend easily with sugar and butter. If you’re a fan of crunch, though, feel free to substitute half with crunchy peanut butter. Be cautious when using natural peanut butter, as its oil separation can lead to spreadier cookies unless thoroughly stirred.
Butter plays a vital role here, not only for flavor but for structure. It gives the cookies their rich, moist crumb. Salted butter is preferred for balance, but if you only have unsalted, simply add a pinch of salt to the dough.
Next up are the sugars. This recipe uses both granulated sugar and light brown sugar. The granulated sugar adds crispness, while brown sugar brings moisture and a subtle molasses note that enhances the nutty peanut butter.
Eggs act as the binder, helping to hold everything together while providing a soft, chewy interior. Vanilla extract especially a high-quality or Mexican vanilla, adds aromatic depth that rounds out the sweetness.
All-purpose flour forms the base of the dough, providing structure. Baking soda ensures a soft rise and balanced spread during baking. With just a few thoughtful choices, these humble ingredients become something truly special.
Baking Tools: What You’ll Need for Perfect Results.
You don’t need fancy equipment to bake these cookies, which is part of their enduring appeal. Just a few basic tools can make the process smoother and more enjoyable.
Start with a mixing bowl a large one for your wet and dry ingredients. If using a hand mixer or stand mixer, it will make creaming the butter and sugars easier, though a sturdy spoon and a bit of arm power can also do the job.
A cookie scoop is highly recommended. A 2-tablespoon size will yield the best texture and classic proportions, ensuring consistent baking and appearance across all your cookies. If you don’t have one, two spoons or your hands work fine just try to keep the sizes even.
Line your baking sheets with parchment paper or a silicone baking mat. This helps prevent sticking and ensures even browning, especially on the bottoms. Nonstick sprays can also work but might result in slightly crispier bottoms.
The trademark crosshatch is created with a fork, lightly pressed twice on each dough ball, once vertically and once horizontally. Dip the fork in sugar to prevent sticking and add a bit of sparkle to the cookie tops.
Finally, you’ll need a cooling rack. Letting the cookies rest briefly on the baking sheet before moving them to a rack ensures they firm up just right without overcooking.
Step-by-Step Instructions: Your Guide to Cookie Perfection
Once you’ve gathered your ingredients and tools, the baking process unfolds simply and enjoyably. Here’s how to achieve old-fashioned peanut butter cookie perfection step by step.
Preheat your oven to 350°F (175°C). Prepare two baking sheets by lining them with parchment paper or silicone mats.
Cream together the peanut butter and softened butter until the mixture is light and smooth. Add both sugars and beat until fluffy. This step is key to incorporating air, which creates the desired soft interior texture.
Add the eggs, one at a time, mixing thoroughly after each. Stir in the vanilla extract to deepen the flavor profile.
In a separate bowl, whisk together the flour and baking soda. Gradually mix this into the wet ingredients, blending just until no flour streaks remain. Avoid overmixing to maintain a tender crumb.
Using a cookie scoop, form 2-tablespoon-sized dough balls and place them about 3 inches apart on the baking sheet.
Flatten each ball with a fork, creating the signature crisscross pattern. This step flattens the cookies for even baking and that classic look.
Bake for 12–13 minutes, or until the edges are set and the tops lose their shine. They should still look soft in the center don’t overbake.
Cool on the baking sheet for 5 minutes before transferring to a wire rack. Letting them rest ensures they firm up without becoming too crisp.
Storing, Freezing, and Making Ahead
Peanut butter( check my recipe) cookies are ideal for make-ahead baking. They store beautifully and taste just as good sometimes even better after a day or two.
At room temperature, keep the cookies in an airtight container. They’ll stay fresh for 4 to 5 days. Layering them with wax or parchment paper helps prevent sticking, especially if they’re slightly soft in the center.
Want to keep them longer? Freeze them. Baked cookies can be stored in the freezer for up to 3 months. Let them cool completely before freezing in a sealed container or bag with layers of parchment between cookies.
You can also freeze the raw dough. Scoop the dough onto a baking sheet, flatten slightly with a fork, and freeze the tray until solid. Then transfer the frozen dough portions to a zip-top bag or container. When ready to bake, just add a minute or two to the baking time, no need to thaw.
Refrigerating the dough before baking (for up to 24 hours) can also enhance the flavor. The chilled dough spreads less and develops deeper, more complex notes after resting.
Tips, Tricks, and Customizations
These cookies offer a solid base for a variety of creative twists. Here are a few expert tips and variation ideas to elevate your baking game.
Don’t overbake. The cookies should still be soft in the center when you pull them from the oven. They’ll continue to firm up as they cool.
Customize the flavor. Add chocolate chips, peanut butter chips, or even swirl in Nutella for a twist. For crunch, chopped roasted peanuts work beautifully.
Use different nut butters. Almond or cashew butter can be substituted, though they may alter texture slightly. Keep in mind some natural butters are oilier.
Add sea salt on top. A light sprinkle before baking can enhance the cookie’s depth and balance the sweetness.
Go gluten-free. Use a 1:1 gluten-free baking blend. These cookies adapt well and stay just as tender.
Reduce sugar. While altering sugar can affect texture, reducing each sugar by 1–2 tablespoons won’t drastically change the outcome.
Vary cookie size. For smaller, bite-sized cookies, use a 1-tablespoon scoop and reduce baking time to about 10 minutes.
FAQ SECTION
How long will peanut butter cookies stay fresh?
Stored in an airtight container, peanut butter cookies stay fresh for about 5–7 days at room temperature.
Why do peanut butter cookies dry out?
They dry out from too much flour, overbaking, or not enough fat or moisture in the dough.Why did my peanut butter cookies turn out hard?
Hard cookies often come from overbaking, overmixing the dough, or using cold ingredients that don’t blend well.

Old-Fashioned Peanut Butter Cookies
Ingredients
Method
- Preheat your oven to 350°F (175°C). Prepare two baking sheets by lining them with parchment paper or silicone mats.
- Cream together the peanut butter and softened butter until the mixture is light and smooth.
- Add both sugars and beat until fluffy to incorporate air for a soft interior texture.
- Add the egg, mixing thoroughly, then stir in the vanilla extract.
- In a separate bowl, whisk together the flour and baking soda. Gradually mix this into the wet ingredients until no flour streaks remain.
- Using a cookie scoop, form 2-tablespoon-sized dough balls and place them about 3 inches apart on the baking sheet.
- Flatten each ball with a fork, creating the signature crisscross pattern.
- Bake for 12–13 minutes, or until the edges are set and the tops lose their shine.
- Cool on the baking sheet for 5 minutes before transferring to a wire rack.